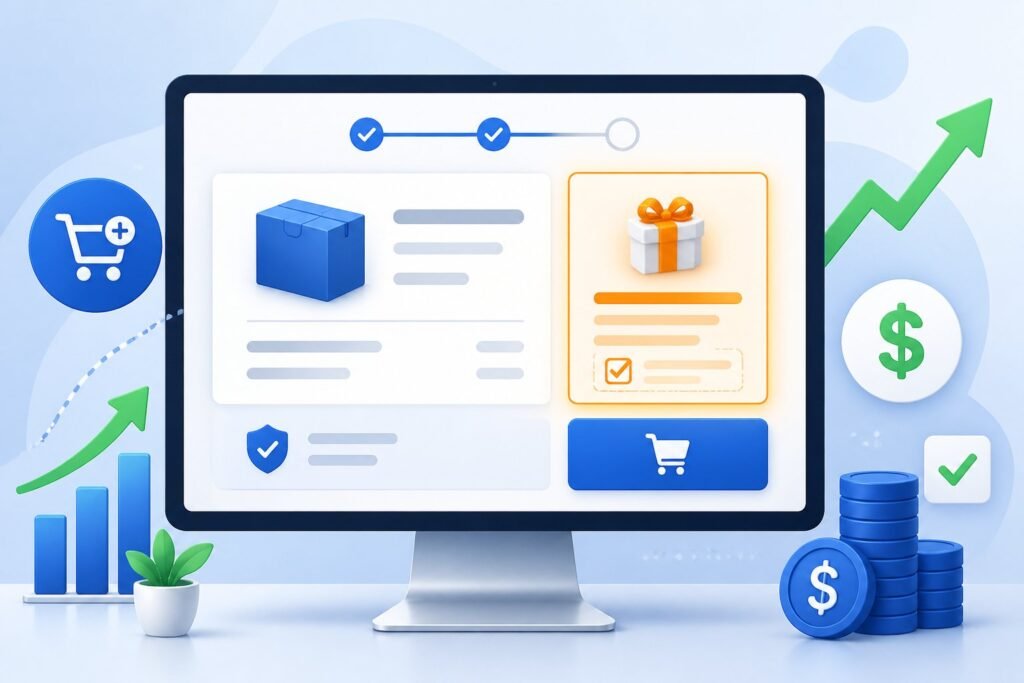
You’re leaving money on the table if you’re not using order bumps in your sales funnels. An order bump is a small add-on offer that appears directly on your checkout page, allowing customers to add another product to their purchase with a single click before completing their order.
This simple feature can boost your revenue by 20-40% without sending customers to another page or making them go through a second checkout process.

Think of order bumps as the digital version of candy bars at the grocery store checkout line. When someone is already buying from you, they’re in the right mindset to say yes to a related offer that makes sense.
The best part is that ClickFunnels makes it easy to add and customize these offers on your order forms.
This guide will walk you through everything you need to know about ClickFunnels order bumps. You’ll learn how to set them up, what types of offers work best, and how to fix common problems that might come up along the way.
How Order Bumps Work in ClickFunnels

Order bumps add extra products to your checkout page with a simple checkbox. They work by showing customers a related offer right when they’re buying your main product, making it easy to increase your order value without extra pages or steps.
Purpose and Psychology of Order Bumps
Order bumps work because they catch customers at the perfect moment. When someone is already buying from you, they’re in a buying mindset and ready to spend money.
The psychology is simple. Your customer has already decided to trust you and pull out their credit card.
Adding one more small item feels easy compared to starting a whole new purchase later. An order bump product usually costs less than your main offer.
It should solve a related problem or make your main product work better. For example, if you sell a course about social media marketing, your order bump might be a template pack or bonus training module.
The key is convenience. Customers can add the extra item with one click instead of going through another checkout process.
Some ClickFunnels users see around 38% of their customers accept order bump offers when done right.
Placement in the Sales Funnel
Order bumps only appear on your order form page in ClickFunnels. You’ll see them on the checkout page right below where customers enter their payment information.
The order bump shows up as a small box with a checkbox. Customers can check it to add the product or leave it unchecked to skip it.
This placement is strategic because it’s the last thing people see before completing their purchase. You set up order bumps in ClickFunnels Classic by going to your funnel view.
Click on your order form step, then select the products section. When you add a product, you’ll see an option to mark it as an order bump product by checking a box.
The bump stays on the same page as your main checkout form. Your customer never leaves the page or gets redirected anywhere else.
They just check a box and continue with their normal purchase.
Difference Between Order Bumps and Upsells
Order bumps and upsells both add to your revenue, but they work differently. An order bump appears on the same page as your checkout form.
An upsell shows up on a separate page after someone buys. Your customer sees the order bump before completing their first purchase.
They add it by clicking a checkbox on your order form page. Upsells happen after the initial transaction goes through.
Order bumps are usually smaller, lower-priced items. Upsells can be bigger offers or premium versions of what someone just bought.
You might use an order bump for a $27 add-on and an upsell for a $297 upgrade. The buying process is different too.
With an order bump, the customer pays for everything in one transaction. With an upsell, they make a second purchase decision and a second payment.
Setting Up Order Bumps on Your Order Form Page
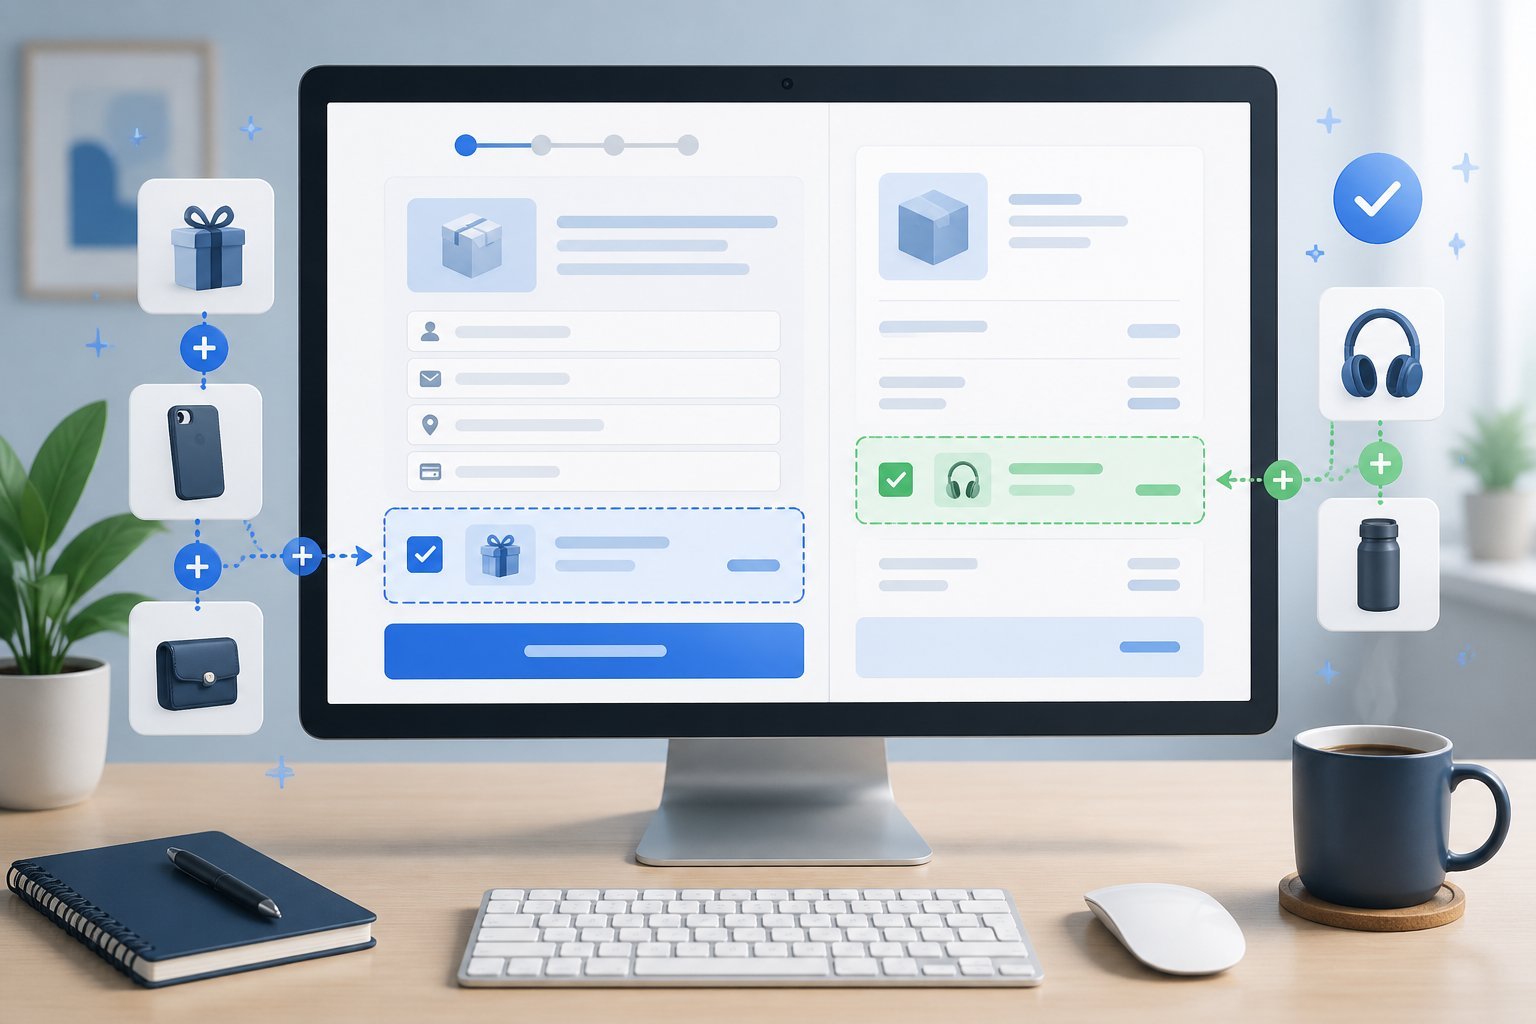
Order bumps let you offer a secondary product right on your checkout page where customers can add it with a single click. You’ll need to create the order bump product, connect it to your payment gateway, and add the order bump element to your page editor.
Adding an Order Bump Product
Start by navigating to your Funnels page from the ClickFunnels menu. Click on the funnel name you want to edit and select your order form page.
Click on the Products tab once you’re inside the order form page. You’ll see a button that says “+Add Product” which you need to click to start creating your order bump product.
Fill out the basic product information including your product name and price. You can also add optional details like a product description or billing description that appears on bank statements.
Make sure you set the correct currency for your product. The most important step is toggling the “Bump Product” switch to the on position.
This tells ClickFunnels that this product should be available as an order bump instead of a regular product in your funnel.
Integrating With Payment Gateways
You need to select a payment gateway when creating your order bump product. Click on the payment gateway you want to use from the available options.
If you haven’t connected a payment gateway to your ClickFunnels account yet, you’ll see an “Add Payment Integration” button. Click this button to set up your payment processor before you can continue.
Select “One-Time” as the payment type for your order bump product. This creates a one-time product that customers purchase once rather than a subscription.
Click “Save and Next” to move forward with the setup.
Activating Order Bump in the Page Editor
Click the “Edit Page” button on your order form page to open the page editor. Navigate to the Elements section and click “Add Element” to see all available elements.
Look for the “Order Bump” element under the Order Elements section. You can place this element anywhere on your page, but most people add it right above the submit button where it gets maximum visibility.
Hover over the order bump element and click the gear icon to access its settings. You can customize the text, colors, and layout to match your page design.
Click Save when you’re done making changes. If you’re using a 2-step order form, you’ll need to access the order form settings instead.
Click the gear icon on your 2-step order form element and go to Advanced settings. Select “Show Order Bump” from the Toggle Order Bump dropdown menu to make it visible to customers.
Optimizing Order Bump Offers for Maximum Conversion
The success of your order bump depends on three key factors: selecting the right product to offer, writing copy that clearly communicates value, and pricing it at a point where buyers say yes without hesitation.
Best Practices for Offer Selection
Your order bump product should complement what the customer is already buying. If they’re purchasing a course on email marketing, a good bump would be email templates or a swipe file.
A bad bump would be an unrelated product like a social media guide. The best order bumps solve a problem the customer will face right after buying the main product.
Think about what makes the main offer easier to use, faster to implement, or more complete. Digital products work better than physical ones.
There’s no shipping delay and no fulfillment cost eating into your profit. Test different product types to see what your audience responds to.
Some buyers want done-for-you solutions. Others want premium upgrades or bonus training.
The only way to know which converts best is to test both options with real traffic.
Effective Order Bump Copywriting
Keep your order bump copy short and specific. You need three elements: a headline that frames the decision as theirs, a brief description of what they get, and a clear reason to add it right now.
Your headline should follow this format: “Yes! Add [product name] to my order for just $[price].” This makes the customer feel like they’re choosing to upgrade, not being sold to.
The description needs two to three sentences maximum. Answer these questions: What is it? Why do they need it now? Why is this price a deal they can’t pass up?
Example of strong bump copy:
- Headline: “Yes! Add the Email Template Pack to my order for just $27”
- Description: “Get 50 proven email templates you can copy and paste today. Save 10+ hours writing emails from scratch. Normally $97, yours for just $27 when added to your order right now.”
Include a product image or icon. Order bumps with visuals convert 10-20% better than text-only bumps.
Choosing the Right Product Price
Price your order bump at 20-40% of your main offer. If you’re selling a $97 course, your bump should cost between $19 and $39.
Never price the bump above 50% of the main product price. At that point, it feels like a second major purchase instead of a simple add-on.
Take rates drop when the bump costs too much. Use odd pricing numbers.
A $27 order bump will outperform a $30 bump. A $47 bump beats $50.
The psychological difference matters even though the actual price gap is small. If you’re offering a one-time product through your bump, emphasize that this is their only chance to get this price.
Scarcity works when it’s real and relevant to the buying moment.
Advanced Order Bump Strategies

Once you master the basics of order bumps, you can multiply their impact through strategic testing and placement.
Multiple bumps and systematic testing can push your average order value even higher when done correctly.
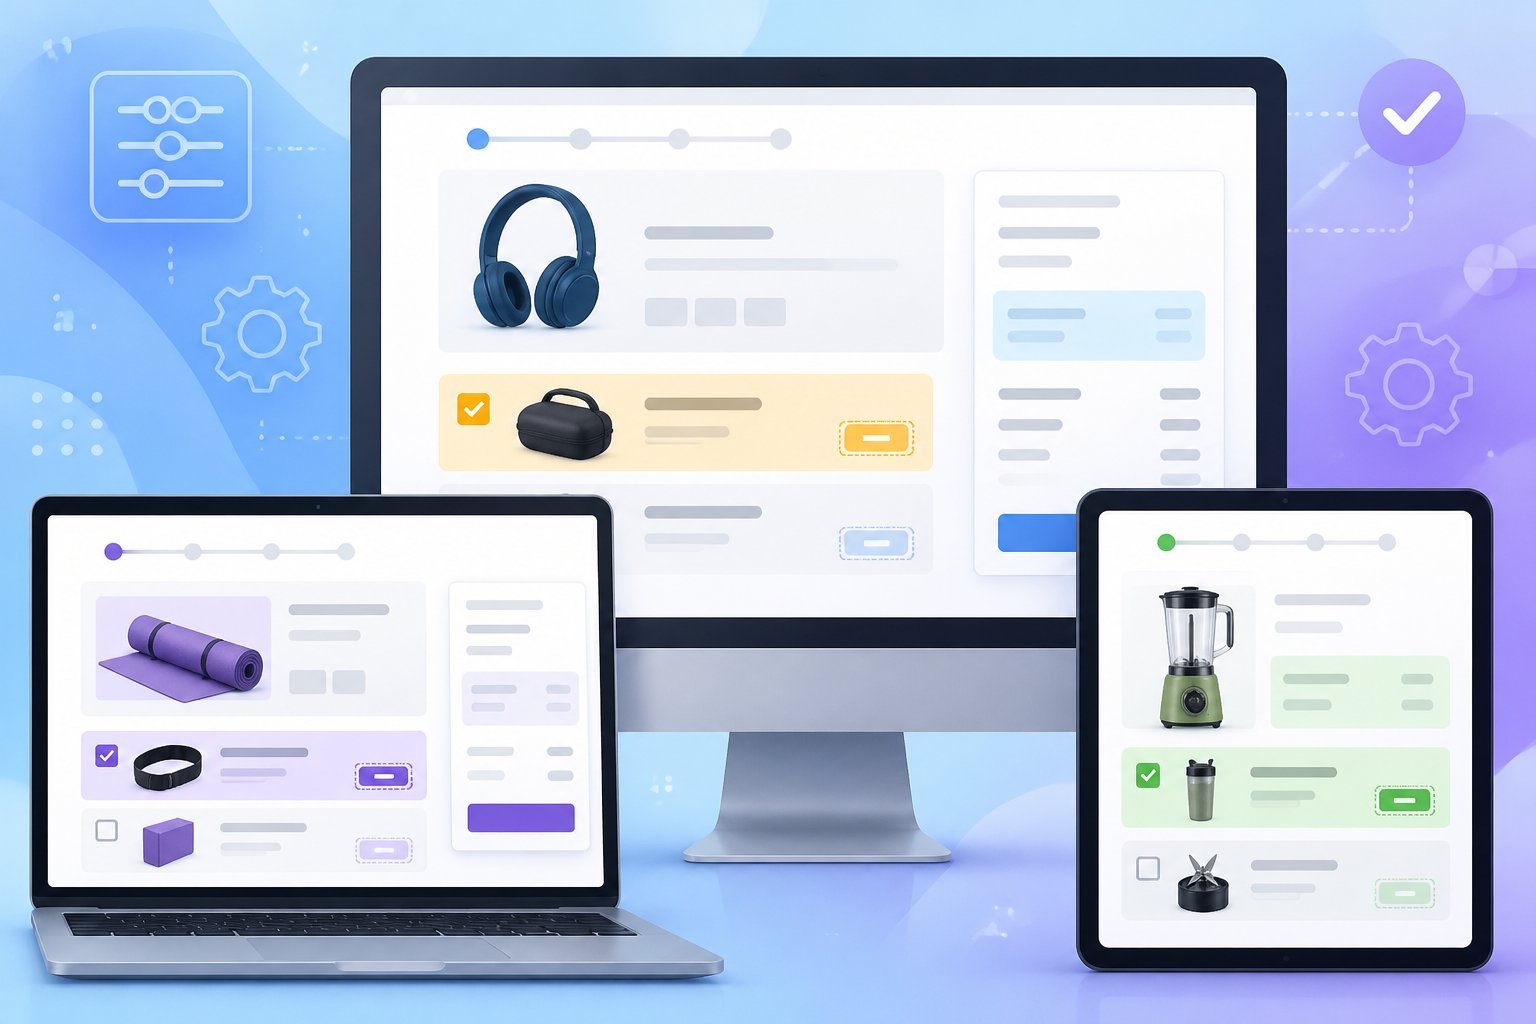
Using Multiple Order Bumps
ClickFunnels 2.0 lets you add more than one order bump to your checkout page. You can offer two or even three separate bump products on the same order form.
Most funnels work best with one or two order bumps maximum. When you add a third bump, take rates usually drop because buyers face too many choices at once.
The key is making each order bump product serve a different purpose. Your first bump might be an accelerator that helps them get results faster.
Your second bump could be a companion product that adds extra value.
Best practices for multiple order bumps:
- Place your strongest offer first (highest perceived value)
- Keep the second bump at a lower price point than the first
- Use different product types (example: template pack + coaching call)
- Test one bump first until it converts at 25% or higher
Each additional bump creates decision fatigue. Start with one order bump, measure its performance, then add a second only if your first bump maintains a strong take rate.
A/B Testing Your Order Bump Offers
Testing different versions of your order bumps shows you exactly what your buyers want. The biggest gains come from testing the actual product you’re offering, not just the words or price.
Run your test until at least 100 people see your order form. Anything less gives you unreliable data that can lead to wrong decisions.
What to test in order of impact:
- The offer itself – Try a completely different order bump product
- Price point – Test $27 vs $37 vs $47
- Headline copy – Change how you frame the benefit
- Image or mockup – Different visuals can shift take rates by 10-20%
ClickFunnels 2.0 has built-in split testing for order bumps. You set up two versions and the system automatically splits your traffic between them.
After you hit 100-200 order form views, check which version has the higher take rate.
Customizing Order Bumps on Different Order Forms
The way you customize order bumps depends on whether you’re using a regular order form or a two-step version. Each type requires different steps in the page editor to display and style your bump offers correctly.
Regular vs. Two-Step Order Form Integration
Regular order forms let you add order bumps by inserting a dedicated element directly onto your order form page. You’ll go to the page editor and click on “Add Element” to find the Order Bump option under Order Elements.
You can drag this element to any spot on your page, though most people place it right above the submit button.
Two-step order forms work differently. Instead of adding a separate element, you need to access the settings by hovering over your two-step order form and clicking the gear icon.
From there, click “Advanced” and select “Show Order Bump” from the Toggle Order Bump dropdown menu. You’ll then need to select “Show Step 2 Settings” to edit how your bump appears on the second step of checkout.
Order Bump Design and Placement Tips
Position your order bump element strategically on your order form page to grab attention without disrupting the checkout flow. The spot just above your submit button works well because customers see the offer right before they complete their purchase.
Keep your order bump design simple and clear. Use bold text to highlight the product name and price.
Make the checkbox easy to spot so customers can quickly add the item to their order. You can customize colors, fonts, and spacing through the element settings in your page editor.
Match your order bump styling to your brand so it feels like a natural part of your funnel. Test different designs to see what gets the best response from your customers.
Troubleshooting Common Order Bump Issues

Order bump problems typically fall into three main categories: display issues on your order form page, price calculation errors, and automatic selection settings. Most of these issues have simple fixes that take just a few minutes to resolve.
Order Bump Not Displaying
If your order bump isn’t showing up on your order form page, check that you’re using an order form template first. Order bumps only work on order pages, not on regular landing pages or opt-in forms.
You need to verify that you’ve actually marked the product as a bump product in your funnel settings. Go to your funnel view and click on your order form.
Select “Products/Sales” and look at your product settings. At the bottom of the product configuration window, there’s a checkbox that asks if this is a bump product.
This box must be checked for the order bump to appear. Also make sure you’ve added bump headline text and description content in your order form settings.
Click on your form element and navigate to Step Two settings. Without this content filled in, the order bump section won’t display properly even if everything else is configured correctly.
Price Not Updating Correctly
When someone checks the order bump box, the total product price should update automatically to include both items. If this isn’t happening, the issue is usually with your product price settings in the backend.
Check that each product has a price assigned in your products section. Go back to your funnel view and verify that both your main product and your bump product have correct prices entered.
Empty or zero price fields will prevent the dynamic price calculation from working. Your payment gateway connection can also affect price updates.
Make sure your payment processor is properly integrated with ClickFunnels and that it’s set to accept the combined total of both products.
Automatic Selection of Order Bump
Sometimes you might want your order bump to be pre-selected when customers land on your order form page.
This means the checkbox is already ticked and customers need to uncheck it if they don’t want the additional product.
To enable automatic selection, you’ll need to add custom code to your order form page.
ClickFunnels doesn’t have a built-in toggle for this feature in the standard settings.
The code tells the page to load with the bump checkbox already marked.
Keep in mind that pre-selecting order bumps can be controversial.
Some customers feel this approach is sneaky, while others don’t mind it at all.